
Every piece of furniture I own has, at some point, been described by a member of my family as "a project". The chest of drawers in our bedroom was a project. So was the armchair in the corner of the sitting room, which arrived smelling faintly of somebody else's dog and left a trail of horsehair across the hall. Both are now among my favourite things in the house, and neither needed specialist skills: just patience, the right order of work, and a healthy respect for what you might be breathing in.
Here's how I approach the two most common rescues: a solid wooden chest of drawers, and a tired upholstered chair.
Before you start: assess, don't assume
Resist the urge to reach for sandpaper on day one. Bring the piece indoors, give it a few days to acclimatise, and look at it properly. Is it solid wood, veneer over a carcass, or chipboard with a printed finish? Veneer can be cleaned, repaired and refinished, but it's thin, and aggressive sanding goes straight through it. Chipboard can be painted but rarely rewards hours of work.
Check the joints. Pull each drawer out and look at the corners: dovetails usually signal a decent piece. A wobbly carcass is often just dried-out glue blocks, which are an easy fix. Then decide how far you want to go. Very often a good clean and a fresh coat of wax is all a piece needs, and it preserves the patina that makes old furniture worth having in the first place.
The chest of drawers
Clean first
Decades of furniture polish, kitchen grease and fingerprints form a grimy film that dulls everything. A soft cloth dampened with a mild solution of washing-up liquid and warm water, wrung out well, shifts most of it. For stubborn grime on a waxed surface, the finest grade of wire wool (0000) with a little white spirit or wax remover, worked gently along the grain, does wonders. Always test on the back or inside a drawer first.
Fix the drawers
Sticking drawers are the commonest complaint. Rub the runners and the bottom edges of the drawer sides with an old candle or a bar of dry soap; it's an old trick and it works. If a runner is badly worn, a thin strip of hardwood glued along it brings the drawer back into line. Loose handles usually just need their screws tightening, or the holes packed with a matchstick and a dab of wood glue.
Strip, or don't
If the old finish is beyond saving, a chemical stripper will take it back to bare wood more kindly than sanding. Work outside, or in a garage with the door wide open, wear chemical-resistant gloves and eye protection, and follow the manufacturer's instructions to the letter. Good ventilation matters with every stripper, including the formulas sold as gentler. Neutralise as directed and let the wood dry thoroughly before going any further.
Finish
For a classic look, a clear or tinted furniture wax buffed to a soft sheen is hard to beat, and it's easy to refresh. A hardwax oil gives more protection to tops that see mugs and keys. If you'd rather paint, a good primer is non-negotiable over old varnish, and two thin coats always beat one thick one. Swap the handles for brass or turned wooden knobs and you'll barely recognise it.

A note on mid-century pieces
Teak and afromosia sideboards from the 1950s to the 1970s are usually veneered, and the veneer can be very fine. Skip the sander entirely. A cleaner made for oiled furniture, followed by teak oil applied sparingly and buffed off, restores most of them. Pale water rings often fade with patience and a little more oil; small scratches can be disguised with a matching wax filler stick. Leave badly lifting veneer to someone with clamps, experience and a steady hand.
Old furniture has already survived decades. Your job is to help it survive a few more, not to make it look new.
The armchair
Upholstered furniture brings its own rules. Under the UK furniture fire-safety regulations, upholstered pieces sold in the course of business should carry a permanent label showing they meet the ignition requirements. When buying second-hand, look for it, usually under the seat or on the frame. If there isn't one, the chair will need reupholstering with compliant fabric and fillings before it's sensible to live with, unless it's genuinely old enough to be exempt. Pieces made before 1950 are, but their original stuffing won't resist fire.
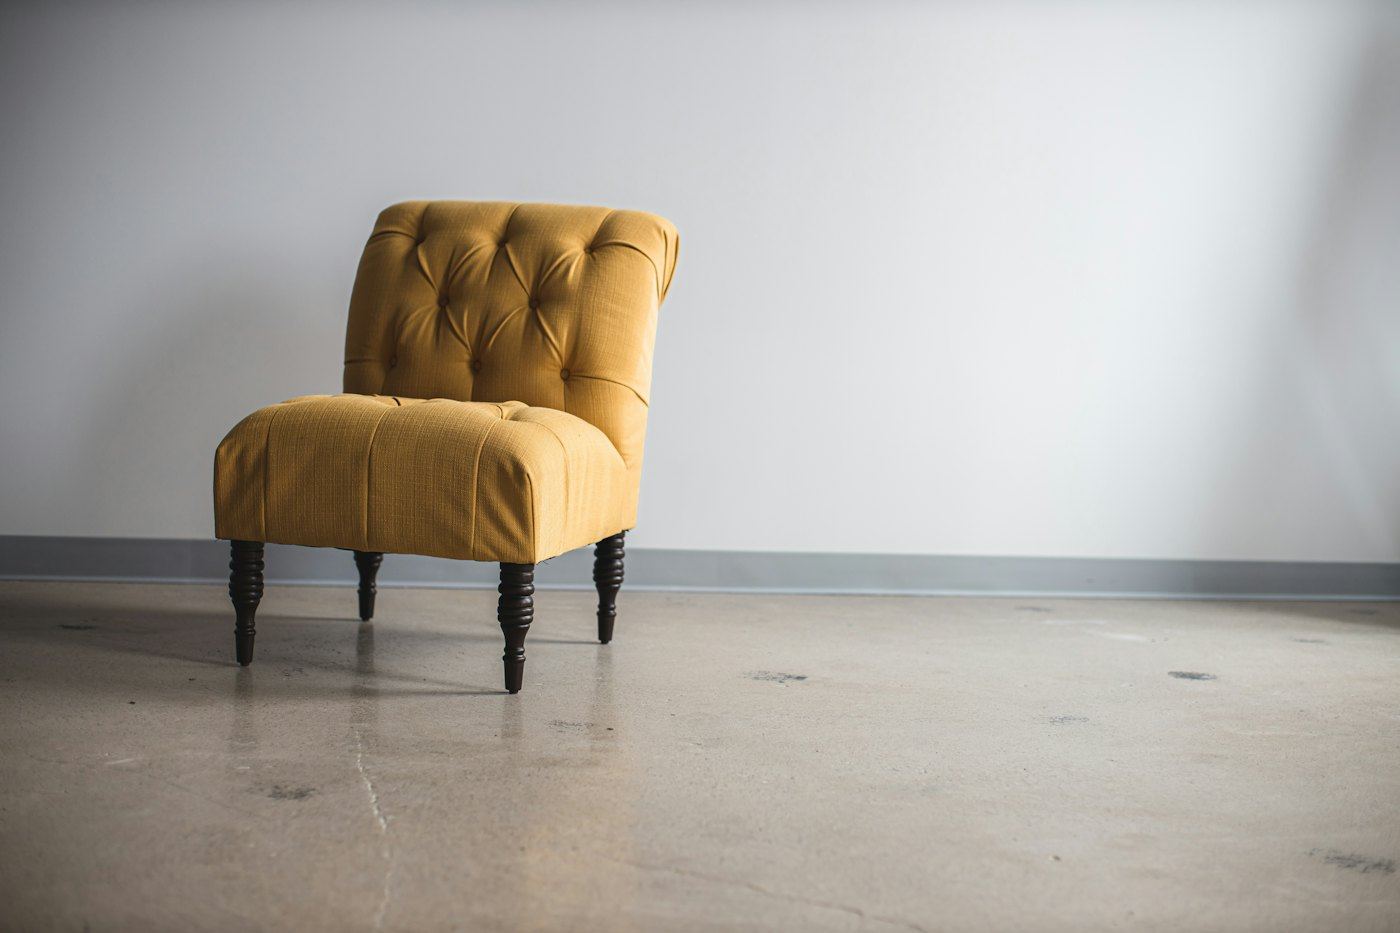
With that settled, start by stripping it back. Remove the bottom cloth, then work through the outer fabric, taking photos at every stage so you know how it all went together. A tack lifter and pliers are your best friends. Bag up old fillings as you go: horsehair and coir from older chairs can often be cleaned and reused, but foam that crumbles to the touch needs replacing.
Check the frame. Loose joints can be knocked apart, cleaned and reglued. Tired webbing should be replaced and stretched tight with a web stretcher. Springs that have broken free of their ties need retying, which is fiddly but very satisfying.
If this all sounds like too much, start smaller. A dining chair with a drop-in seat is the perfect first project: unscrew the seat, staple new fabric over the existing pad, and screw it back in. You'll learn more about tension and neat corners in one afternoon than in hours of videos.
Your basic kit
- Screwdrivers in several sizes, including a stubby one for drawer runners
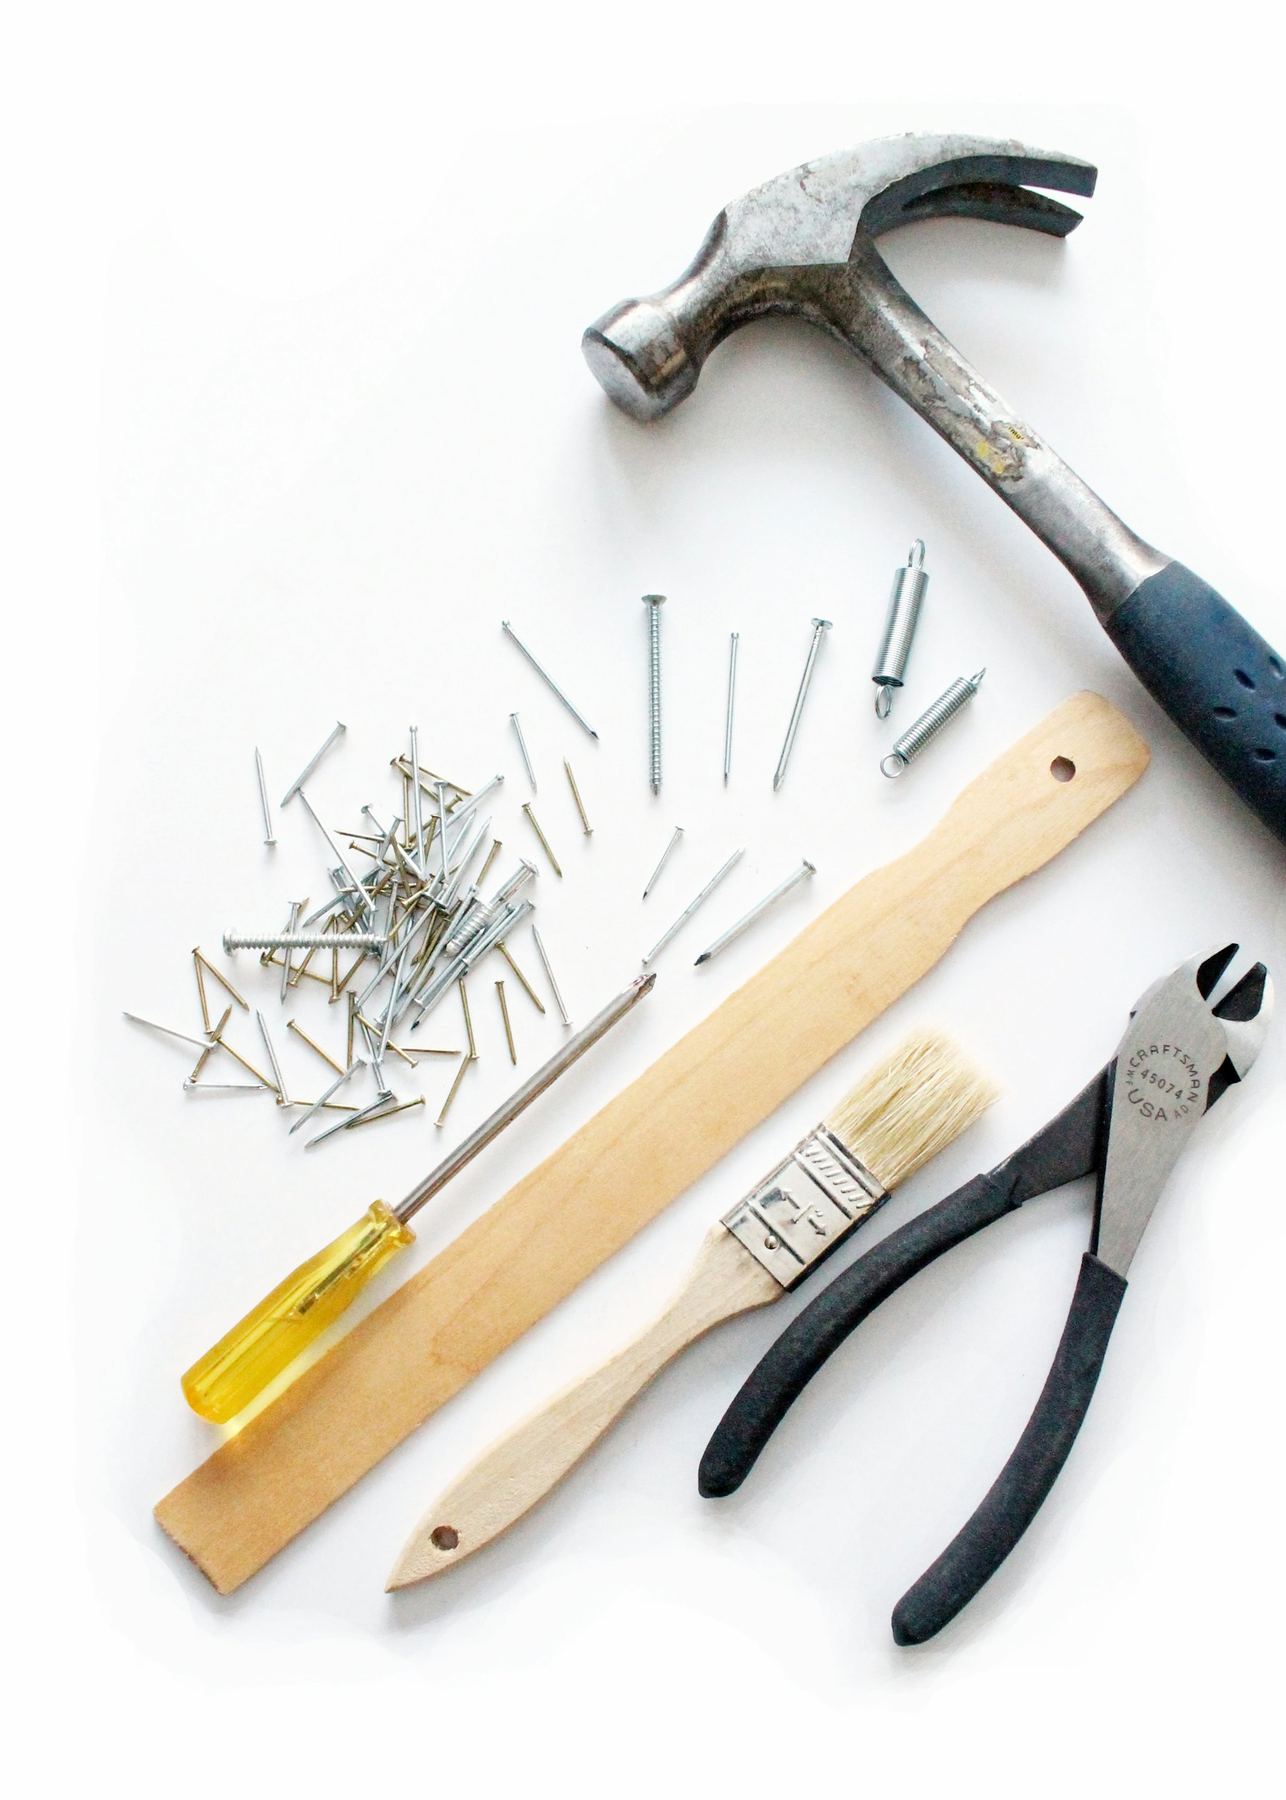
- Pliers, a tack lifter and a small hammer
- Fine wire wool, soft cloths and a pack of graded sandpapers
- Wood glue, a couple of clamps and a few hardwood offcuts
- A lead test kit, a well-fitted mask, gloves and eye protection
- A staple gun for upholstery
- Patience, and somewhere to leave a half-finished chair for a fortnight
Where to find your next project
The best pieces for a first restoration are solid, structurally sound and cheap enough that a mistake won't hurt. Our guide to charity shops, car boot sales and antique markets has my tips for finding them. And if your finished piece is destined for a period room, the Victorian terrace guide is full of ideas on where old and new sit happily together.



The candle wax trick on drawer runners genuinely changed my life. Our old pine dresser drawers went from needing two hands and a shoulder to gliding open.
Isn't it satisfying? If they start sticking again, check the runners haven't worn unevenly, but usually a fresh rub of wax is all it takes.
Any advice on choosing fabric for a first reupholstery project? I'm tempted by velvet but worried it will be hard to work with.
Velvet is lovely but it shows every staple mark and pull, and the pile runs in one direction, which you have to keep consistent. For a first chair a medium-weight cotton or linen blend is far more forgiving. Whatever you choose, make sure it meets the fire-safety requirements, or is used with a compliant interliner.